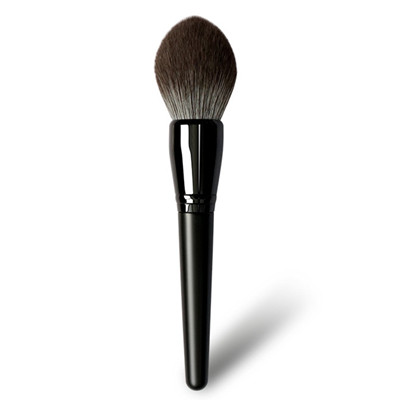
As a professional makeup brush factory, quality is our life. To ensure the brush quality, before assembly, we have strict inspection process on bristle, ferrule and handle.
Here we would like to share our inspection methods and standard on the copper ferrules, so that customers can fully understand our quality level and be at ease during custom makeup brush OEM from us.
QC of Copper ferrule
Inspecting according to:
• Inspection Sheet
•Production Instruction Sheet
•Customers' Approved Samples/Benchmark
1. Dimension:
• vernier caliper • ≥¢20.0mm tolerance:±1mm in length, +0.2mm in diameter, 0.4±0.02mm in thickness
• ¢14.1-20.0mm tolerance:±1mm in length, +0.2mm in diameter, 0.35±0.1mm in thickness
• ¢7.1-14.0mm tolerance:±1mm in length, +0.1mm in diameter, 0.25±0.01mm in thickness •
¢4.0-7.0mm tolerance:±1mm in length, +0.1mm in diameter, 0.2±0.01mm in thickness
2. Material:
•Use Leeb hardness tester to randomly test 5 times- get average value data -see if the data is the same as benchmark
3. Appearance
•Color:Compare with benchmark; if the same- OK
•Scratch:Visually check if any scratch on surface, no more than 3 scratches within 0.9*0.2*0.2mm is acceptable
•Cleanness:No dirty within 30cm from inspector sight
4. Performance
Salt solution testing: soak the copper ferrule in transparent glass with salt solution (5g salt and 95g water)for 8 hours, take out, wash with clean water, and dry naturally. Check if any peeling, rusty or yellowing on surface.


